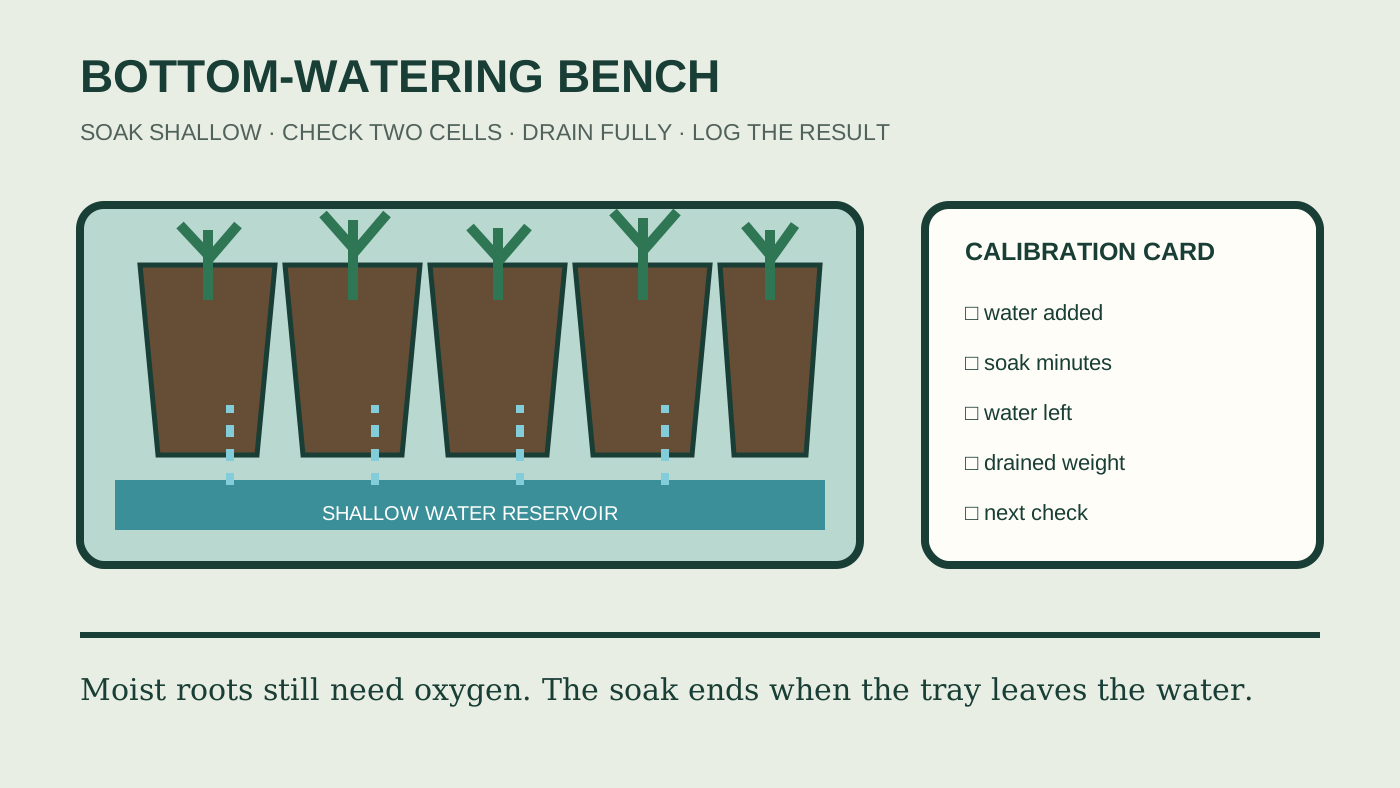
Why bottom watering helps—and where it fails
A shallow tray can distribute water without flattening tiny seedlings, displacing seed, or repeatedly wetting leaves. It also makes the volume and timing easier to observe. Penn State’s microgreen guidance notes that sub-irrigation helps keep foliage and stems dry and advises removing trays once the potting medium is wet.
The method fails when cells remain in water, the mix is already saturated, trays have no drainage, or every crop is forced onto one schedule. Saturated growing media loses air. University of Maryland warns that roots stop growing and die when excess water displaces oxygen; persistently wet media also favors damping-off organisms.
So the useful question is not “top or bottom?” It is “does this routine deliver even moisture, then let the root zone drain and breathe?”
Build the smallest workable station
| Part | What to verify | Why it matters |
|---|---|---|
| Cell tray or pots | Open drainage holes; similar cell depth within a batch | Water must enter and later leave each container |
| Reservoir tray | Watertight, level, easy to lift and clean | A tilted tray overwaters one edge and misses another |
| Growing medium | New, clean seed-starting mix with uniform texture | Dense or reused outdoor mix can drain unevenly and carry pathogens |
| Watering measure | Marked pitcher or bottle | A recorded volume is easier to adjust than “some water” |
| Drain position | Rack, empty tray, or sink that allows free drainage | The soak ends when the cells leave the reservoir |
| Log | Date, volume, soak time, tray weight or moisture check | Patterns reveal whether the schedule fits the crop and room |
You do not need a branded propagation system. A container with known dimensions, unobstructed drainage, and a stable flat surface is more useful than features you cannot measure. This site keeps price, stock, and product recommendations disabled until supplier authorization and current commercial terms exist.
Start with clean inputs
Damping-off can begin before a seed emerges or collapse a seedling at the soil line. University of Minnesota Extension recommends clean or sanitized containers, new potting mix, good drainage, clean tools, and careful moisture management. It specifically advises against garden soil, compost, and reused potting mix for seedling trays because they can introduce damping-off pathogens.
- Wash first. Remove old roots and media from trays and tools before sanitizing them with a current Extension-recommended method.
- Use fresh seed-starting mix. Moisten it evenly before filling cells so dry pockets do not resist later wetting.
- Keep hose ends and tools off the floor. Soilborne pathogens can travel on dirty hands, tools, pots, water, and debris.
- Separate failures quickly. Remove collapsed or rotting seedlings and do not pour their shared water into a healthy tray.
A measured bottom-watering cycle
- Check before watering. Look at several cells, including corners and the center. Wait until the surface is nearly dry while confirming the root zone has not become completely dry.
- Add a shallow layer. Measure the water placed in the reservoir. Use enough to contact drainage holes without floating cell packs or submerging the media surface.
- Start a timer. Watch for the surface to darken and feel evenly moist. Different mixes and cell depths wick at different speeds, so treat the first cycle as a test.
- Lift and inspect. Check a center cell and an edge cell. If only the bottom is wet, return briefly; if the surface is saturated, shorten the next cycle.
- Drain completely. Move the tray to a rack or empty tray. Discard leftover shared water rather than letting cells sit in it.
- Record the result. Note the volume used, soak time, amount left, room temperature, and when the next watering is actually needed.
A fixed ten-minute soak is not a universal rule. Fine peat-based mixes, coir blends, paper pots, soil blocks, and tall cells behave differently. Seedling size, root development, airflow, light, and room humidity also change demand.
Use tray weight as a repeatable signal
Color and touch are useful, but a tray’s weight adds another simple measurement. Weigh or lift the tray after full drainage and record that as the “wet, drained” reference. Check it each day at about the same time. Over several cycles, the difference between a tray that still has usable moisture and one that needs water becomes easier to recognize.
The number does not need to be universal. It belongs to that tray, medium, crop, and growth stage. A low-cost kitchen scale can work if the tray fits safely and the scale’s capacity and resolution are appropriate. Keep the scale dry and follow its cleaning and load limits.
Separate germination from seedling care
Seeds need consistent moisture to germinate, while emerged seedlings increasingly need a balance of water and oxygen. A humidity cover can reduce drying during germination, but leaving it closed after emergence traps humidity and limits airflow. Remove or vent it as the seed packet and crop guidance direct.
Penn State identifies excessive moisture, overcrowding, and unfavorable media temperatures as conditions that favor damping-off. Its guidance places the germination root-zone target for many greenhouse seedlings around 70–75°F, while noting that temperatures above 77°F after emergence can also favor disease. Follow crop-specific germination temperatures instead of using one heat-mat setting for every tray.
Do not share one reservoir across a problem
Bottom watering can move contaminants through shared water. University of Minnesota explains that damping-off pathogens can spread through potting media and shared irrigation water. If a tray has collapsed stems, mushy roots, suspicious growth, or an unknown failure, isolate it. Clean the reservoir before it serves healthy trays.
Process healthy trays first. Give each tray fresh water or use a system designed and managed to prevent cross-contamination. Recirculating systems require more sanitation and monitoring than a simple home seed-starting tray.
Match the routine to light and airflow
Water use cannot be separated from the rest of the bench. Weak light slows growth and water demand. Crowding traps humidity. A fan may improve air movement, but direct strong airflow can desiccate small cells. Map the whole setup:
- light hours and fixture height;
- day and night temperature near the trays;
- cell size and growing-medium type;
- seedling density and stage;
- air movement at canopy height;
- water volume, soak time, and drain time.
Pair this log with the grow-light coverage guide. When edge seedlings stay wet longer and also receive less light, the problem may be bench geometry rather than the watering technique alone.
Diagnose the pattern before changing equipment
The tray may be bowed, the reservoir not level, or the soak too short for the mix.
Check tray level, cell contact, blocked holes, and whether edge airflow differs.
Persistent moisture and light on the media surface point to an overly wet routine; reassess timing and airflow.
Isolate immediately and compare symptoms with Extension damping-off guidance. More water will not revive infected seedlings.
A seven-day calibration card
| Record | Day 1 | Day 3 | Day 5 | Day 7 |
|---|---|---|---|---|
| Tray weight before watering | ___ | ___ | ___ | ___ |
| Water added | ___ | ___ | ___ | ___ |
| Soak minutes | ___ | ___ | ___ | ___ |
| Water left | ___ | ___ | ___ | ___ |
| Wetness after drain | ___ | ___ | ___ | ___ |
| Seedling response | ___ | ___ | ___ | ___ |
Change one variable at a time. If the tray reaches even moisture in eight minutes and drains cleanly, shortening the next soak to six minutes is a useful test. Buying another tray before checking level, hole blockage, and mix consistency is not.
Sources checked
- University of Maryland Extension — Starting Vegetable Seeds Indoors, updated 2026.
- University of Minnesota Extension — How to Prevent Seedling Damping Off.
- Penn State Extension — Safeguard Your Seedlings from Damping-Off, updated 2026.
- Penn State Extension — Growing Microgreens.
Research reviewed October 11, 2026. Follow crop-specific seed instructions and current local Extension guidance.